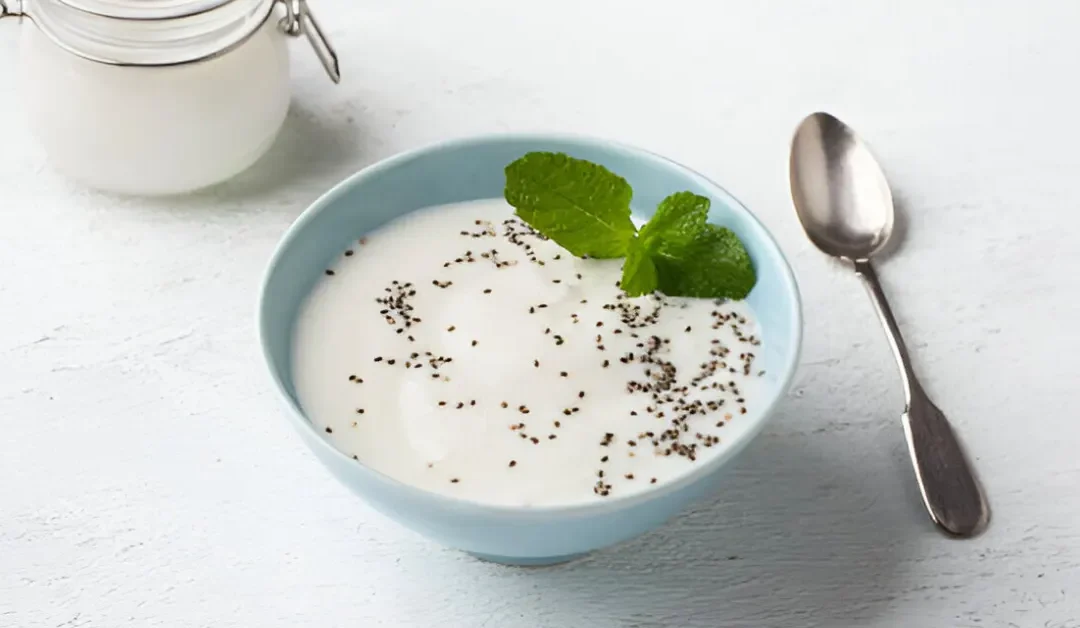
High Protein Pasta Recipes: Delicious and Nutritious Meals

High Protein Pasta Recipes: Delicious and Nutritious Meals

Pasta lovers, rejoice! You can now enjoy your favorite comfort food while packing in the protein. High protein pasta recipes are the perfect blend of indulgence and nutrition, ensuring you stay satisfied and energized.

Whether you’re a fitness enthusiast, a busy professional, or just someone looking to incorporate more protein into your diet, these recipes are for you. Let’s dive into some mouthwatering, protein-packed pasta dishes that will revolutionize your mealtime.

Why High Protein Pasta?

High protein pasta is more than just a trend; it’s a lifestyle choice that offers numerous benefits:

  1. Muscle Recovery: Protein is essential for muscle repair and growth, making these recipes ideal for post-workout meals.
  2. Satiety: Protein helps keep you full and satisfied, reducing the urge to snack between meals.
  3. Nutrition: These recipes are packed with not just protein but also essential vitamins and minerals, contributing to overall health.

High Protein Pasta with Chicken and Vegetables

Ingredients:

  • 1 lb whole wheat pasta
  • 1 lb boneless, skinless chicken breasts, sliced
  • 2 cups mixed vegetables (bell peppers, zucchini, broccoli)
  • 1 can (14.5 oz) diced tomatoes
  • 1 cup chicken broth
  • 1 tsp garlic powder
  • 1 tsp dried oregano
  • Salt and pepper to taste
  • 1 tbsp olive oil

Instructions:

  1. Cook the Chicken: Heat the olive oil in a large skillet over medium heat. Add the sliced chicken breasts and cook until browned and cooked through. Remove from the skillet and set aside.
  2. Sauté Vegetables: In the same skillet, add the mixed vegetables and cook until tender.
  3. Add Pasta and Liquids: Pour in the diced tomatoes and chicken broth. Bring to a boil, then add the pasta. Cook according to the package instructions until the pasta is al dente.
  4. Combine and Season: Add the cooked chicken back to the skillet. Stir in the garlic powder, dried oregano, salt, and pepper. Cook for an additional 2-3 minutes to allow the flavors to meld.
  5. Serve: Plate the pasta and enjoy your protein-packed meal.

Creamy Pesto Chicken Pasta

Ingredients:

  • 1 lb rotisserie chicken, shredded
  • 1 lb whole wheat pasta
  • 1 cup pesto
  • 1 cup milk (any kind)
  • 2 cups broccoli florets
  • 1/2 cup sun-dried tomatoes, chopped
  • Salt and pepper to taste

Instructions:

  1. Cook the Pasta: Bring a large pot of salted water to a boil. Add the pasta and cook according to the package instructions until al dente. Drain and set aside.
  2. Prepare the Sauce: In a large skillet, combine the pesto and milk over medium heat. Stir until well combined and heated through.
  3. Add Vegetables and Chicken: Add the broccoli florets and sun-dried tomatoes to the skillet. Cook until the broccoli is tender. Stir in the shredded chicken.
  4. Combine with Pasta: Add the cooked pasta to the skillet and toss to coat evenly with the sauce. Season with salt and pepper to taste.
  5. Serve: Plate the pasta and enjoy your creamy, protein-rich pesto chicken pasta.

High Protein Pasta with Shrimp and Spinach

Ingredients:

  • 1 lb whole wheat pasta
  • 1 lb shrimp, peeled and deveined
  • 2 cups fresh spinach
  • 1 can (14.5 oz) diced tomatoes
  • 1 cup chicken broth
  • 1 tsp garlic powder
  • 1 tsp red pepper flakes
  • Salt and pepper to taste
  • 1 tbsp olive oil

Instructions:

  1. Cook the Shrimp: Heat the olive oil in a large skillet over medium heat. Add the shrimp and cook until pink and cooked through. Remove from the skillet and set aside.
  2. Sauté Spinach: In the same skillet, add the fresh spinach and cook until wilted.
  3. Add Pasta and Liquids: Pour in the diced tomatoes and chicken broth. Bring to a boil, then add the pasta. Cook according to the package instructions until the pasta is al dente.
  4. Combine and Season: Add the cooked shrimp back to the skillet. Stir in the garlic powder, red pepper flakes, salt, and pepper. Cook for an additional 2-3 minutes to allow the flavors to meld.
  5. Serve: Plate the pasta and enjoy your delicious, protein-packed shrimp and spinach pasta.

Tips for Boosting Protein in Your Pasta

  1. Choose High-Protein Pasta: Opt for pasta made from chickpeas, lentils, or other legumes to increase the protein content of your dish.
  2. Add Lean Proteins: Incorporate lean proteins like chicken, turkey, shrimp, or tofu into your pasta recipes.
  3. Veggie Power: Include protein-rich vegetables like spinach, broccoli, and peas to boost the nutritional value of your pasta.

Conclusion

High protein pasta recipes are a game-changer for anyone looking to enjoy delicious, nutritious meals without compromising on taste. From creamy chicken pesto pasta to hearty shrimp and spinach dishes, these recipes offer a perfect balance of flavor and nutrition.

So, why not give them a try and elevate your pasta nights? Your taste buds (and muscles) will thank you!

You May Also Like

No Results Found

The page you requested could not be found. Try refining your search, or use the navigation above to locate the post.

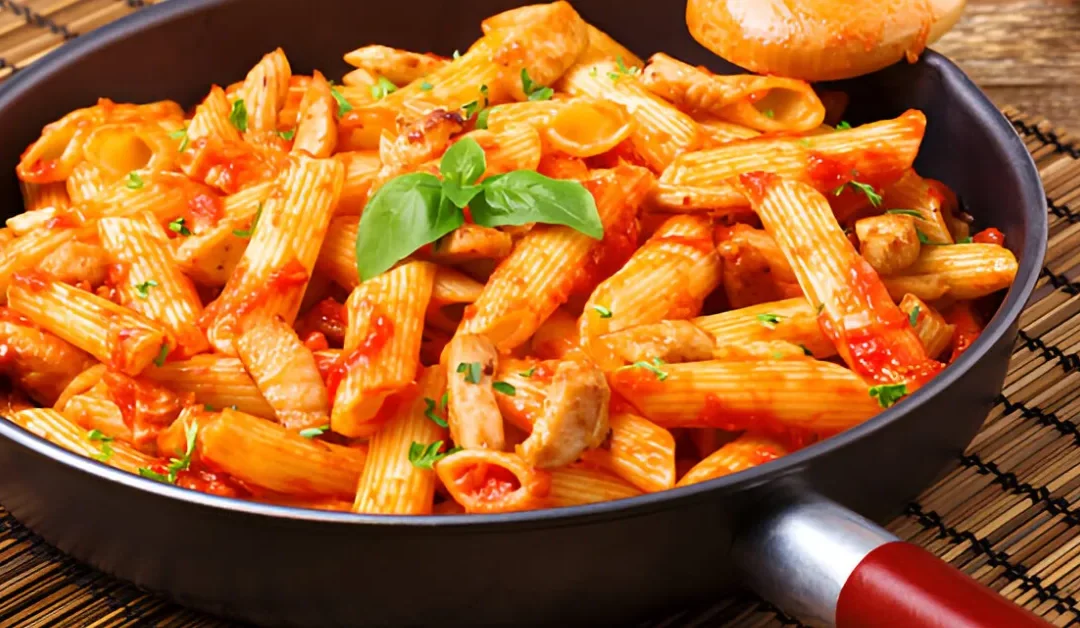
Ditalini Pasta Recipe: A Delightful Twist on a Classic

Ditalini Pasta Recipe: A Delightful Twist on a Classic

Imagine biting into a perfectly cooked, tiny tube of pasta, each piece coated in a rich, flavorful sauce. Welcome to the world of ditalini pasta, a delightful and versatile ingredient that can transform your meals.

Whether you’re craving a comforting soup, a creamy pasta dish, or a refreshing salad, ditalini pasta has got you covered. Let’s dive into some amazing ditalini pasta recipes that will add a delightful twist to your culinary adventures.

What is Ditalini Pasta?

Ditalini pasta is a small, tube-shaped pasta that resembles tiny thimbles. Its name comes from the Italian word “ditali,” which means “thimbles.” This pasta is perfect for soups, salads, and various pasta dishes, thanks to its ability to absorb flavors and maintain a pleasant texture.

Ditalini Pasta with Peas and Parmesan

Ingredients:

  • 1 lb ditalini pasta
  • 1 cup frozen peas
  • 1/2 cup grated Parmesan cheese
  • 2 tbsp olive oil
  • 2 cloves garlic, minced
  • Salt and pepper to taste

Instructions:

  1. Cook the Pasta: Bring a large pot of salted water to a boil. Add the ditalini pasta and cook according to the package instructions until al dente.
  2. Prepare the Peas: In a separate pan, heat the olive oil over medium heat. Add the minced garlic and sauté until fragrant. Add the frozen peas and cook until heated through.
  3. Combine: Drain the pasta, reserving some pasta water. Toss the pasta with the peas, garlic, and olive oil mixture. Add the grated Parmesan cheese and stir until well combined. If needed, add a bit of pasta water to achieve your desired consistency.
  4. Season and Serve: Season with salt and pepper to taste. Serve hot and enjoy your delicious ditalini pasta with peas and Parmesan.

Ditalini Pasta with Bacon and Peas

Ingredients:

  • 1 lb ditalini pasta
  • 4 slices bacon, diced
  • 1 cup frozen peas
  • 1/2 cup heavy cream
  • 1/2 cup grated Parmesan cheese
  • 2 cloves garlic, minced
  • Salt and pepper to taste

Instructions:

  1. Cook the Bacon: In a large skillet, cook the diced bacon over medium heat until crispy. Remove the bacon from the skillet and set aside, leaving the bacon grease in the pan.
  2. Sauté Garlic and Peas: In the same skillet, add the minced garlic to the bacon grease and sauté until fragrant. Add the frozen peas and cook until heated through.
  3. Cook the Pasta: Bring a large pot of salted water to a boil. Add the ditalini pasta and cook according to the package instructions until al dente. Drain the pasta, reserving some pasta water.
  4. Combine: Add the cooked pasta to the skillet with the garlic and peas. Pour in the heavy cream and stir until the pasta is well coated. Add the grated Parmesan cheese and stir until melted and creamy. If needed, add a bit of pasta water to achieve your desired consistency.
  5. Serve: Top with the crispy bacon, season with salt and pepper to taste, and serve your creamy ditalini pasta with bacon and peas.

Creamy Marry Me Ditalini Sausage Pasta

Ingredients:

  • 1 lb ditalini pasta
  • 1 lb Italian sausage, casings removed
  • 1 can (14.5 oz) diced tomatoes
  • 1 cup heavy cream
  • 1/2 cup grated Parmesan cheese
  • 2 cloves garlic, minced
  • 1 tsp dried oregano
  • Salt and pepper to taste

Instructions:

  1. Cook the Sausage: In a large skillet, cook the Italian sausage over medium heat until browned and cooked through. Break up the sausage into small pieces as it cooks. Remove the sausage from the skillet and set aside.
  2. Sauté Garlic: In the same skillet, add the minced garlic to the sausage grease and sauté until fragrant.
  3. Add Tomatoes and Cream: Pour in the diced tomatoes and heavy cream. Stir to combine and bring the mixture to a simmer.
  4. Cook the Pasta: Bring a large pot of salted water to a boil. Add the ditalini pasta and cook according to the package instructions until al dente. Drain the pasta, reserving some pasta water.
  5. Combine: Add the cooked pasta and sausage to the skillet with the tomato and cream mixture. Stir until the pasta is well coated. Add the grated Parmesan cheese and stir until melted and creamy. If needed, add a bit of pasta water to achieve your desired consistency.
  6. Season and Serve: Season with dried oregano, salt, and pepper to taste. Serve your creamy marry me ditalini sausage pasta hot and enjoy.

Tips for Perfect Ditalini Pasta

  1. Cooking Time: Ditalini pasta typically takes about 8-10 minutes to cook until al dente. Always refer to the package instructions for the best results.
  2. Sauce Pairings: Ditalini pasta pairs well with a variety of sauces, from creamy Alfredo to hearty tomato-based sauces. Don’t be afraid to experiment with different flavors.
  3. Adding Vegetables: Feel free to add your favorite vegetables to your ditalini pasta dishes. Peas, spinach, and broccoli are all great options that add nutrition and flavor.

Conclusion

Ditalini pasta is a versatile and delightful ingredient that can elevate your meals with its unique shape and ability to absorb flavors.

From creamy pasta dishes to comforting soups, these ditalini pasta recipes are sure to become favorites in your kitchen. So, grab a package of ditalini pasta and let the culinary adventures begin!

Happy cooking, and don’t forget to share your favorite ditalini pasta creations with us. Until next time, enjoy the delicious journey!

You May Also Like

No Results Found

The page you requested could not be found. Try refining your search, or use the navigation above to locate the post.
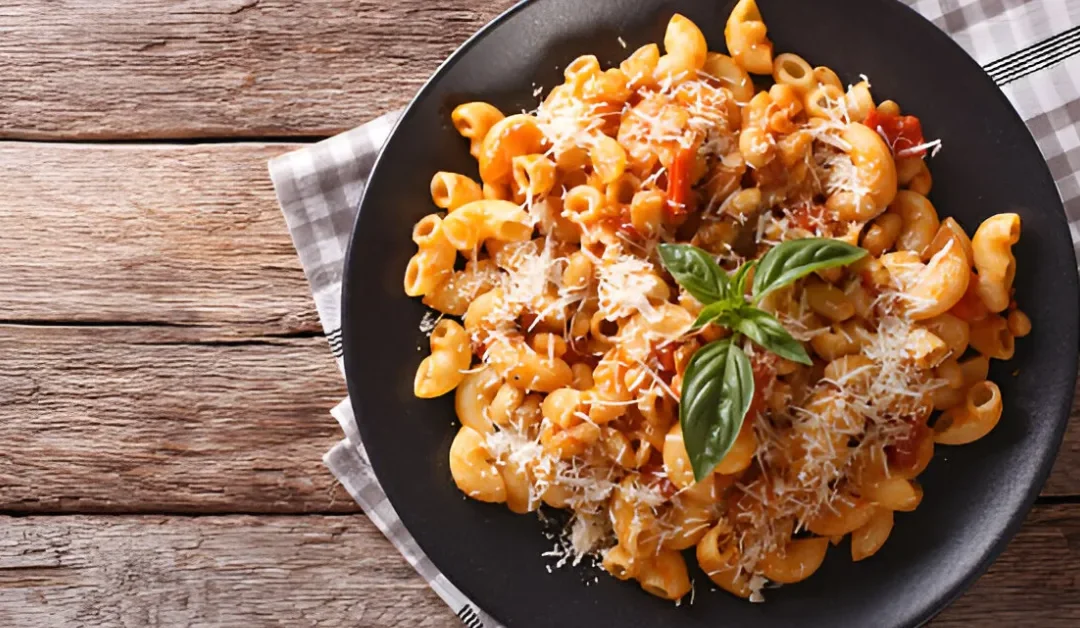
Instant Pot Pasta Recipes: Quick, Easy, and Delicious Meals

Instant Pot Pasta Recipes: Quick, Easy, and Delicious Meals

It’s a busy weeknight, you’re tired, and the last thing you want to do is spend hours in the kitchen. Enter the Instant Pot, your culinary superhero. With just a few simple steps, you can have a delicious, comforting pasta dish on the table in no time.

Whether you’re craving a creamy Alfredo, a hearty meat sauce, or a light and fresh primavera, the Instant Pot has you covered. Let’s dive into some amazing Instant Pot pasta recipes that will make your life easier and your taste buds happier.

The Magic of Instant Pot Pasta

The Instant Pot is more than just a kitchen gadget; it’s a game-changer. Here’s why:

  1. One-Pot Wonder: Say goodbye to multiple pots and pans. With the Instant Pot, you can cook your pasta and sauce all in one pot, making cleanup a breeze.
  2. Time-Saver: The pressure cooking method significantly reduces cooking time, making it perfect for busy weeknights.
  3. Consistent Results: The Instant Pot ensures that your pasta is cooked to perfection every time, with no need to babysit the stove.

Creamy Italian Instant Pot Pasta

Ingredients:

  • 1 lb penne pasta
  • 4 cups water
  • 1 tsp salt
  • 2 cups marinara sauce
  • 1 cup heavy cream
  • 1 cup shredded mozzarella cheese
  • 1 tsp Italian seasoning

Instructions:

  1. Combine Ingredients: Add the pasta, water, and salt to the Instant Pot. Pour the marinara sauce and heavy cream over the pasta, but do not stir.
  2. Cook: Secure the lid and set the Instant Pot to high pressure for 8 minutes. Once the cooking time is up, allow the pressure to naturally release for 5 minutes, then quick release any remaining pressure.
  3. Stir and Serve: Open the lid, stir in the mozzarella cheese and Italian seasoning until the cheese is melted and the pasta is creamy. Serve hot and enjoy your delicious, creamy Italian pasta.

Instant Pot Pasta with Sausage, Spinach, and Tomatoes

Ingredients:

  • 1 lb Italian sausage, sliced
  • 1 onion, diced
  • 2 cloves garlic, minced
  • 1 can diced tomatoes
  • 2 cups spinach
  • 1 lb fusilli pasta
  • 4 cups chicken broth
  • 1 tsp dried oregano
  • Salt and pepper to taste

Instructions:

  1. Sauté Sausage: Select the sauté function on your Instant Pot. Add the sliced sausage and cook until browned. Remove the sausage from the pot and set aside.
  2. Cook Onions and Garlic: In the same pot, add the diced onion and minced garlic. Cook until the onions are translucent.
  3. Add Remaining Ingredients: Pour in the chicken broth and deglaze the pot by scraping up any browned bits. Add the diced tomatoes, spinach, pasta, oregano, salt, and pepper. Stir to combine.
  4. Cook: Secure the lid and set the Instant Pot to high pressure for 8 minutes. Once the cooking time is up, quick release the pressure.
  5. Stir and Serve: Open the lid, stir in the cooked sausage, and serve your hearty and flavorful pasta dish.

Creamy Garlic Parmesan Instant Pot Pasta with Broccoli

Ingredients:

  • 1 lb rotini pasta
  • 4 cups vegetable broth
  • 2 cups broccoli florets
  • 1 cup heavy cream
  • 1 cup grated Parmesan cheese
  • 4 cloves garlic, minced
  • 1 tsp dried basil
  • Salt and pepper to taste

Instructions:

  1. Combine Ingredients: Add the pasta, vegetable broth, broccoli, heavy cream, garlic, basil, salt, and pepper to the Instant Pot. Stir to combine.
  2. Cook: Secure the lid and set the Instant Pot to high pressure for 8 minutes. Once the cooking time is up, quick release the pressure.
  3. Stir and Serve: Open the lid, stir in the Parmesan cheese until melted, and serve your creamy, garlicky pasta.

Tips for Instant Pot Pasta Success

  1. Deglaze the Pot: After sautéing ingredients, always deglaze the pot by adding a small amount of liquid and scraping up any browned bits. This not only enhances the flavor but also prevents the dreaded “burn” notice.
  2. Natural vs. Quick Release: Use natural release for creamier sauces and quick release for pasta dishes with vegetables to prevent overcooking.
  3. Prep Ingredients: Chop, measure, and prep all your ingredients before you start cooking to make the process smoother and more efficient.

Conclusion

The Instant Pot is a lifesaver for pasta lovers, offering a quick and easy way to enjoy your favorite dishes without the hassle. From creamy Italian pasta to hearty sausage and spinach combinations, these recipes are sure to become staples in your kitchen. So, grab your Instant Pot and let the pasta adventures begin!

Happy cooking, and don’t forget to share your favorite Instant Pot pasta creations with us. Until next time, enjoy the delicious journey!

You May Also Like

No Results Found

The page you requested could not be found. Try refining your search, or use the navigation above to locate the post.

Instant Pot Frozen Dessert Recipe: Sweet Treats Made Easy

Instant Pot Frozen Dessert Recipe: Sweet Treats Made Easy

We all know that the Instant Pot is the king of convenience in the kitchen. But did you know it can also be your secret weapon for making delicious frozen desserts? From creamy ice creams to fruity sorbets, the Instant Pot can take the hassle out of your favorite sweet treats, transforming them into frozen delights in record time.

So, why not use your Instant Pot to whip up something cool and tasty the next time you’re craving dessert?

In this blog post, I’ll walk you through some amazing Instant Pot frozen dessert recipes that are sure to impress your taste buds—and your guests. Get ready for a sweet journey of easy, quick, and homemade frozen desserts that will elevate your dessert game without any stress.

Why Use an Instant Pot for Frozen Desserts?

You might be wondering, why choose the Instant Pot for making frozen desserts? Good question! Let’s break it down:

  • Quick and Easy: The Instant Pot does the heavy lifting for you, whether you’re making a custard base or quickly churning up an icy treat. No need for long hours in the kitchen or complex machines.

  • Versatility: From custard-based ice cream to fruity sorbets, your Instant Pot can handle a variety of dessert styles with ease.

  • Consistent Results: No more worrying about melting, overcooking, or inconsistent textures. With an Instant Pot, you get creamy, smooth desserts every time.

So, let’s dive into some instant pot frozen dessert recipes you can try at home!

1. Instant Pot Vanilla Ice Cream

Who doesn’t love a classic vanilla ice cream? Making it in the Instant Pot is so easy, you’ll wonder why you haven’t tried it before.

Ingredients:

  • 2 cups heavy cream
  • 1 cup whole milk
  • 3/4 cup sugar
  • 1 tbsp vanilla extract
  • 5 large egg yolks

Instructions:

Create a custard base: In the Instant Pot, combine milk, heavy cream, sugar, and vanilla extract. Press the “Sauté” function and heat, stirring occasionally, until the mixture is warm (don’t boil).

Temper the eggs: In a separate bowl, whisk egg yolks. Slowly add a bit of the warm cream mixture into the yolks to temper them (this prevents them from scrambling).

Combine: Gradually add the egg mixture back into the Instant Pot, stirring constantly. Cook on “Sauté” for about 3-4 minutes until the mixture thickens slightly (it should coat the back of a spoon).

Chill: Pour the custard into a bowl and refrigerate for 2 hours, or until fully chilled.

Churn and Freeze: Transfer the cooled custard into an ice cream maker and churn according to the manufacturer’s instructions. Alternatively, place in the freezer and stir every 30 minutes until it reaches the desired consistency.

2. Instant Pot Chocolate Sorbet

If you’re craving something lighter but still rich and indulgent, this chocolate sorbet is the perfect solution. It’s dairy-free, refreshing, and packs all the chocolatey goodness you could want.

Ingredients:

  • 4 cups water
  • 1 cup sugar
  • 3/4 cup cocoa powder
  • 1/2 cup dark chocolate chips
  • 1 tsp vanilla extract

Instructions:

Combine the base: In the Instant Pot, mix water, sugar, and cocoa powder. Press the “Sauté” function and stir until the sugar dissolves and the mixture is smooth. Add chocolate chips and stir until melted.

Chill: Turn off the Instant Pot and let the mixture cool to room temperature. Stir in vanilla extract.

Freeze: Pour the cooled chocolate mixture into a shallow dish or ice cream maker. If using the freezer, place the mixture in the freezer and stir every 30 minutes until it’s frozen to your desired consistency.

3. Instant Pot Strawberry Sorbet

Perfect for summer, this strawberry sorbet is light, refreshing, and packed with natural fruit flavor. No dairy, just pure strawberry bliss.

Ingredients:

  • 4 cups fresh or frozen strawberries
  • 3/4 cup sugar
  • 1 cup water
  • 1 tbsp lemon juice

Instructions:

Cook the strawberries: In the Instant Pot, add the strawberries, sugar, and water. Close the lid and set the Instant Pot to high pressure for 5 minutes. When the timer goes off, quick release the pressure.

Blend: Using an immersion blender or regular blender, puree the mixture until smooth. Stir in lemon juice.

Chill: Let the mixture cool to room temperature, then transfer to the fridge and chill for at least 2 hours.

Freeze: Pour the chilled mixture into an ice cream maker, or freeze in a shallow dish, stirring every 30 minutes until it reaches a sorbet consistency.

4. Instant Pot Mango Coconut Popsicles

These tropical popsicles are creamy, fruity, and refreshing, perfect for a hot day.

Ingredients:

  • 2 ripe mangoes, peeled and chopped
  • 1 cup coconut milk
  • 1/2 cup sugar
  • 1 tsp vanilla extract

Instructions:

Blend the base: In a blender, combine mangoes, coconut milk, sugar, and vanilla extract. Blend until smooth.

Freeze: Pour the mixture into popsicle molds and freeze for at least 4 hours or until solid.

Tips for Instant Pot Frozen Desserts

  • Be patient: Some recipes require time to chill or freeze. Don’t rush the process for the best results.

  • Customize your desserts: Feel free to add nuts, fruit chunks, or flavorings like mint, vanilla, or cinnamon to give your frozen treats a personal twist.

  • Keep it smooth: For creamy ice creams and sorbets, regular stirring while they freeze helps break up ice crystals, creating a smoother texture.

Cool Down with an Instant Pot Frozen Dessert!

Making frozen desserts in your Instant Pot is a fun and easy way to treat yourself (and impress your friends) without spending hours in the kitchen. Whether you’re in the mood for a creamy vanilla ice cream, a refreshing strawberry sorbet, or tropical popsicles, these recipes are sure to hit the spot.

Give them a try and let me know which one becomes your new favorite! And remember, with your Instant Pot, dessert is always just a few steps away. Cool, creamy, and absolutely delicious—what more could you want?

You May Also Like

No Results Found

The page you requested could not be found. Try refining your search, or use the navigation above to locate the post.
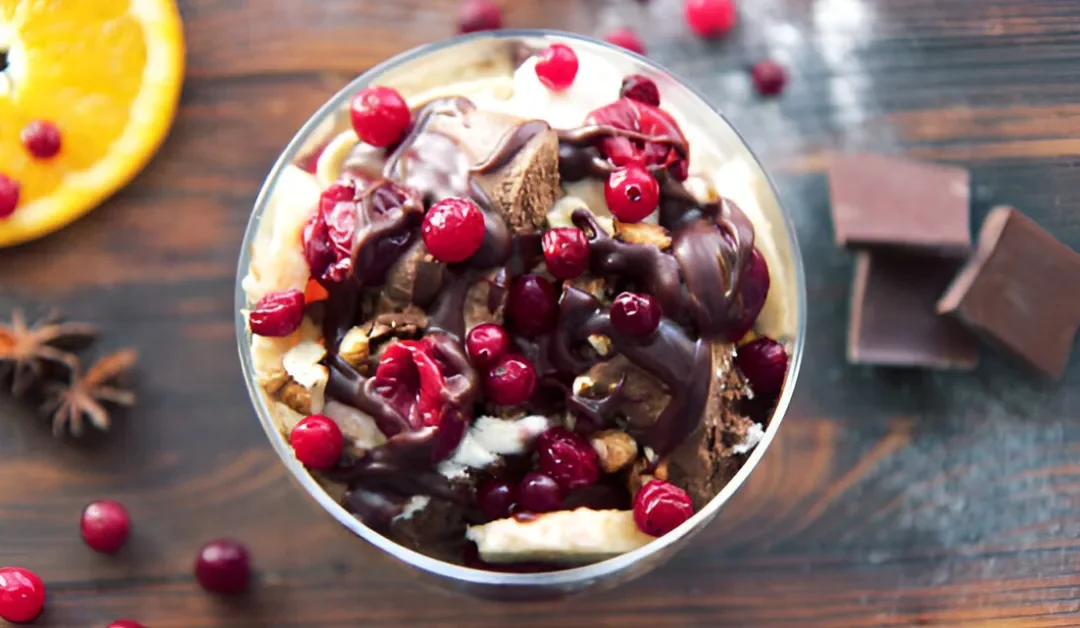
Instant Pot Yogurt Recipe: Mastering Homemade Goodness

Instant Pot Yogurt Recipe: Mastering Homemade Goodness

Waking up to the creamy, tangy goodness of homemade yogurt, made effortlessly in your Instant Pot. If you’re tired of store-bought yogurt and want to take control of what goes into your breakfast bowl, you’re in the right place.

Making yogurt in an Instant Pot is not only easy but also incredibly satisfying. Let’s dive into the world of Instant Pot yogurt and discover how you can create your own delicious, healthy yogurt at home.

Why Make Yogurt in an Instant Pot?

The Instant Pot has revolutionized home cooking, and making yogurt is no exception. Here are a few reasons why you should give it a try:

  1. Cost-Effective: Making yogurt at home is significantly cheaper than buying it from the store. You can control the ingredients and avoid added sugars and preservatives.
  2. Customizable: Whether you prefer non-fat, low-fat, or whole milk yogurt, the Instant Pot allows you to customize your yogurt to your liking. You can also experiment with different flavors and sweeteners.
  3. Convenient: The Instant Pot does most of the work for you. With just a few button presses, you can have fresh yogurt ready in a matter of hours.

Ingredients for Instant Pot Yogurt

To make Instant Pot yogurt, you’ll need just a few basic ingredients:

  1. Milk: You can use any type of milk, from non-fat to whole milk. The higher the fat content, the creamier your yogurt will be.
  2. Yogurt Starter: This can be a small amount of plain yogurt with live cultures or a freeze-dried yogurt starter.
  3. Optional Sweeteners: Honey, maple syrup, or sugar can be added for a touch of sweetness.

Step-by-Step Guide to Making Instant Pot Yogurt

Making yogurt at home may sound intimidating, but with your Instant Pot, it’s a breeze! Follow this simple guide, and you’ll be enjoying creamy, homemade yogurt in no time.

1. Prepare Your Ingredients

  • Milk: Start with your preferred milk. Whole milk creates the creamiest, richest yogurt, but you can also use 2% or skim milk if you prefer a lighter version.
  • Yogurt Starter: For the live cultures that make yogurt, you’ll need plain yogurt with live active cultures. Use about 1-2 tablespoons, or you can buy freeze-dried yogurt starters for a more consistent result.

2. Boil the Milk

  • Pour the milk into the Instant Pot inner pot and close the lid (but don’t seal it).
  • Press the “Yogurt” button, then hit “Adjust” until the display shows “Boil.” The Instant Pot will heat the milk to about 180°F (82°C), which helps to break down proteins for smoother yogurt.
  • When the boiling cycle is done, the Instant Pot will beep, signaling that it’s time for the next step.

3. Cool the Milk

  • Carefully remove the inner pot from the Instant Pot and let the milk cool to around 110°F (43°C). This is crucial because if the milk is too hot, it can kill the live cultures from the yogurt starter.
  • To speed up cooling, you can place the inner pot in a sink filled with cold water or an ice bath.

4. Add the Yogurt Starter

  • In a small bowl, mix your yogurt starter with about 1 cup of the cooled milk. Whisk it until smooth.
  • Pour the mixture back into the remaining cooled milk in the inner pot, and stir gently to combine.

5. Incubate the Yogurt

  • Place the inner pot back into the Instant Pot base.
  • Select the “Yogurt” function again and set the timer for 8-10 hours, depending on how tangy you want your yogurt. The longer the incubation, the tangier it becomes.
  • Close the lid (it doesn’t need to be sealed), and let the magic happen.

6. Chill the Yogurt

  • Once the incubation period is complete, remove the inner pot and carefully transfer the yogurt to airtight containers.
  • Refrigerate the yogurt for at least 4 hours to help it set and chill.

7. Enjoy Your Homemade Yogurt

  • Your Instant Pot yogurt is now ready to enjoy! Serve it plain, add fruits, nuts, or honey, or use it in smoothies, parfaits, or baking recipes.

Making yogurt at home in your Instant Pot not only gives you a delicious and customizable snack, but it’s also a rewarding and cost-effective way to enjoy creamy yogurt whenever you like!

Tips for Perfect Instant Pot Yogurt

  1. Use Fresh Milk: For the best results, use fresh, high-quality milk.
  2. Experiment with Incubation Time: If you prefer a tangier yogurt, increase the incubation time to 10-12 hours.
  3. Strain for Greek Yogurt: To make Greek yogurt, strain the yogurt through a cheesecloth or coffee filter to remove the whey. This will result in a thicker, creamier yogurt.

Troubleshooting Common Issues

  1. Yogurt is Too Runny: If your yogurt is too runny, it may be due to not enough incubation time or the milk not being hot enough during the boiling phase. Ensure the milk reaches at least 180°F (82°C) during boiling.
  2. Yogurt is Too Tart: If your yogurt is too tart, reduce the incubation time. You can also add a bit of sweetener to balance the flavor.
  3. Yogurt Didn’t Set: If your yogurt didn’t set, it could be due to the yogurt starter not being active enough. Ensure your starter has live cultures and is fresh.

Conclusion

Making yogurt in an Instant Pot is a game-changer. With just a few simple steps, you can enjoy homemade yogurt that’s not only delicious but also free from unwanted additives. So, why not give it a try and elevate your breakfast routine? Your taste buds (and wallet) will thank you!

You May Also Like

No Results Found

The page you requested could not be found. Try refining your search, or use the navigation above to locate the post.